The Install
In order to continue with the R&D a few more days was spent calculating and engineering many custom parts: adapter plate/bellhousing machining/flywheel/clutch kit/throw out carrier and bearing/other stuff:

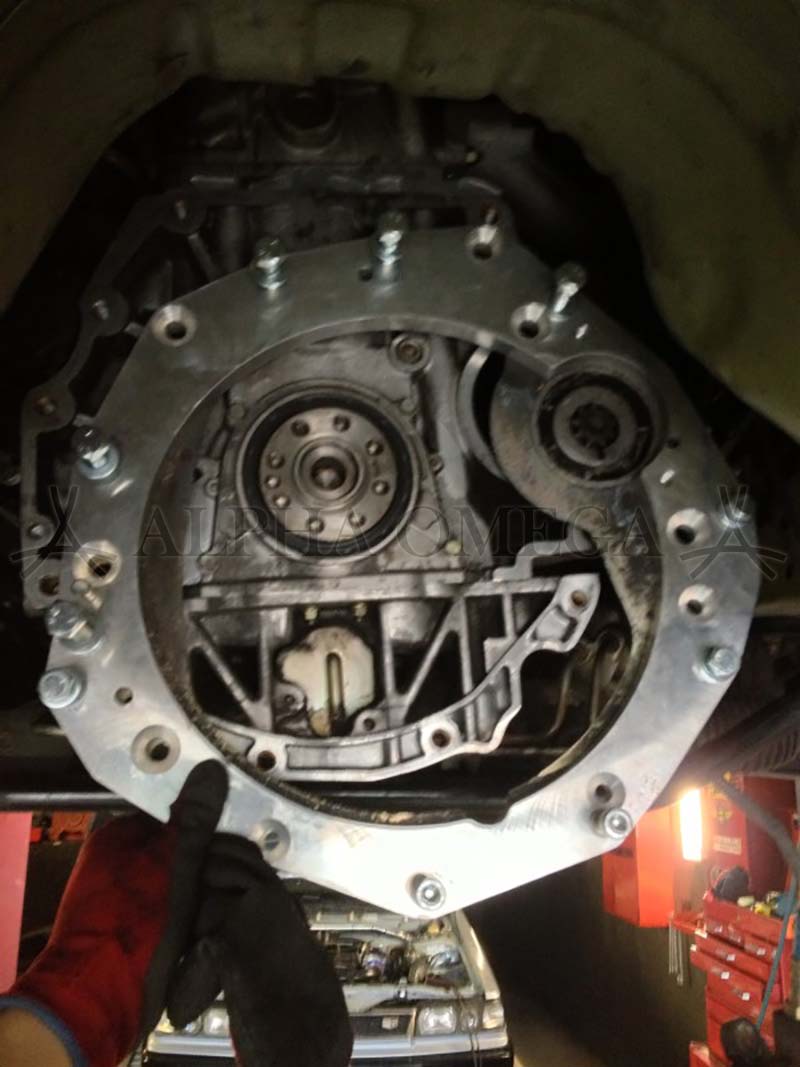

So the adapter plate was bolted on, then of course on goes the Z33 6 speed gearbox! This was an exciting time!! Almost there!!!I remember we installed and removed the gearbox more than a dozen times and excitement gradually turned into frustration because there was so much hammering and gearbox fitting and refitting. Here are the details of the bashing needed to fit the Z33 gearbox into the Silvia…
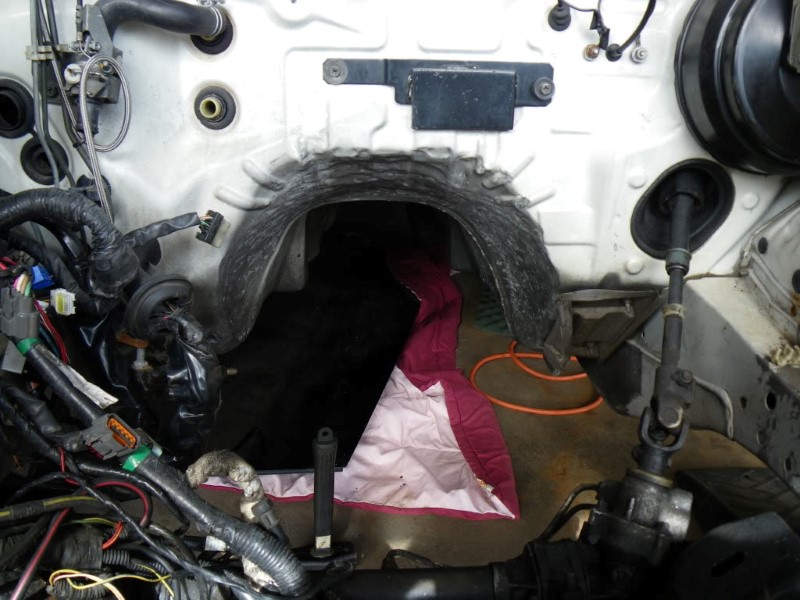
Hammer out where the firewall opens up and becomes the transmission tunnel, which I can’t find a pic of but here’s some courtesy of Google:
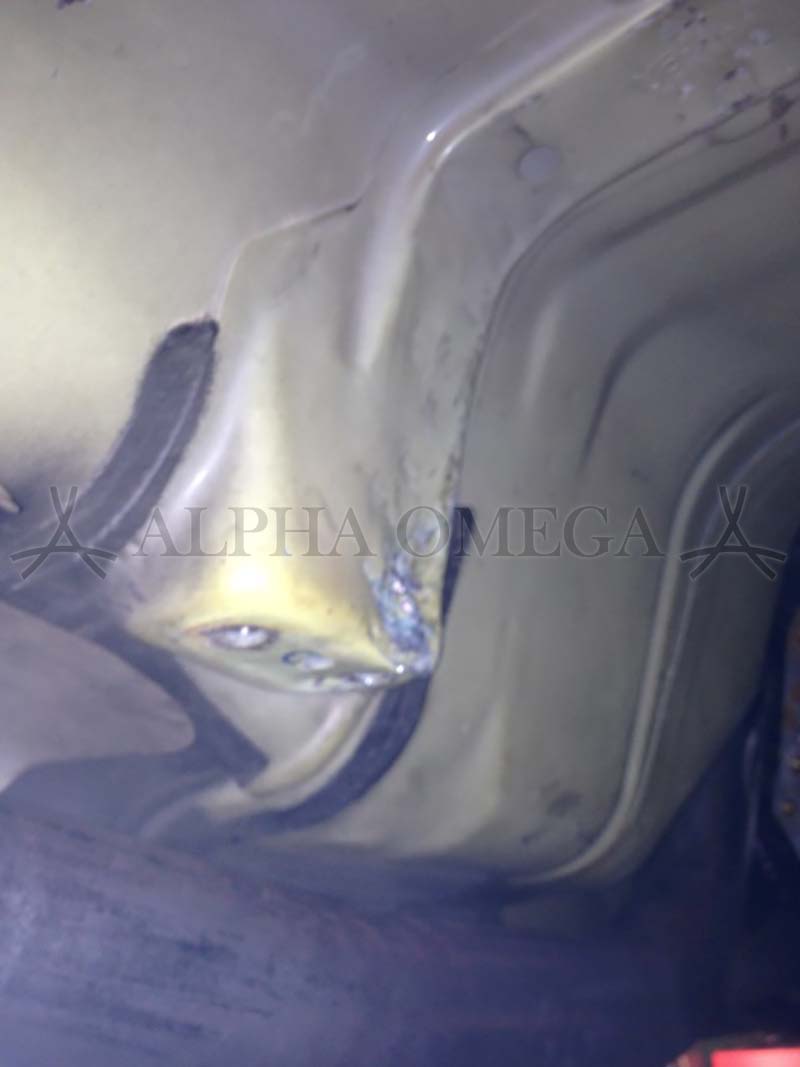
Driver’s front side:
Passenger front side + exhaust + you can see a bit of the firewall hammering in the 2nd pic:
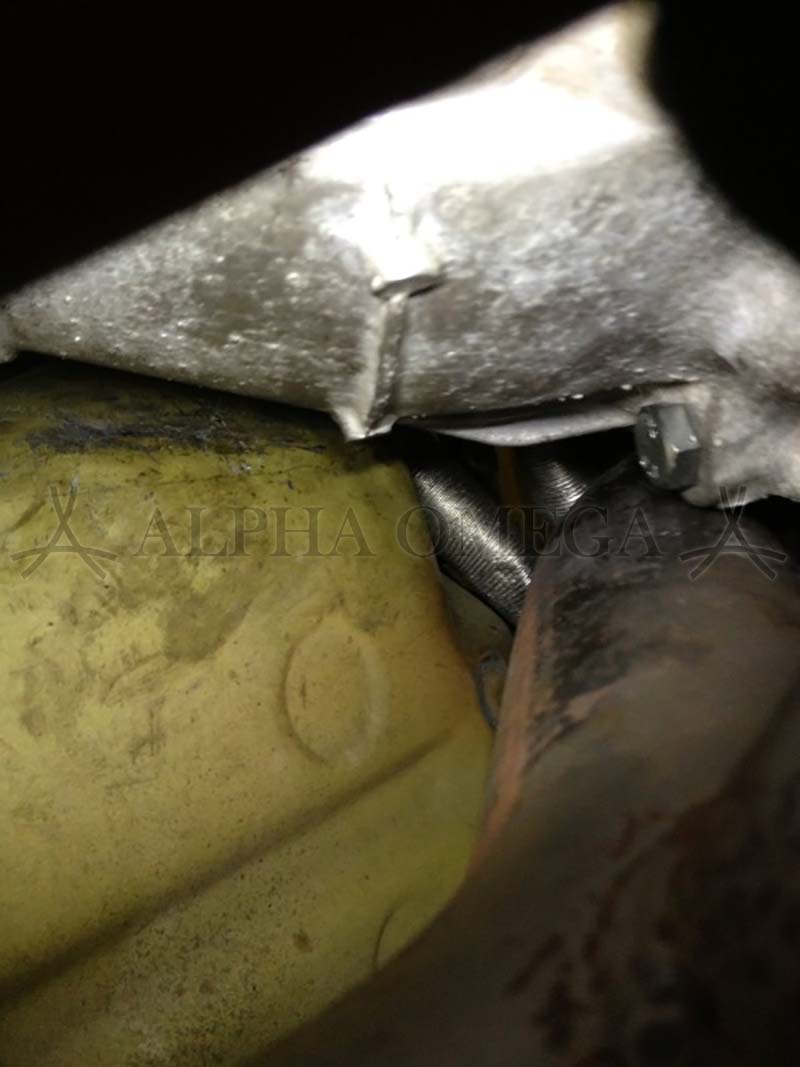
You can see a bit of the firewall hammering here, and also the main exhaust piping has been hammered:
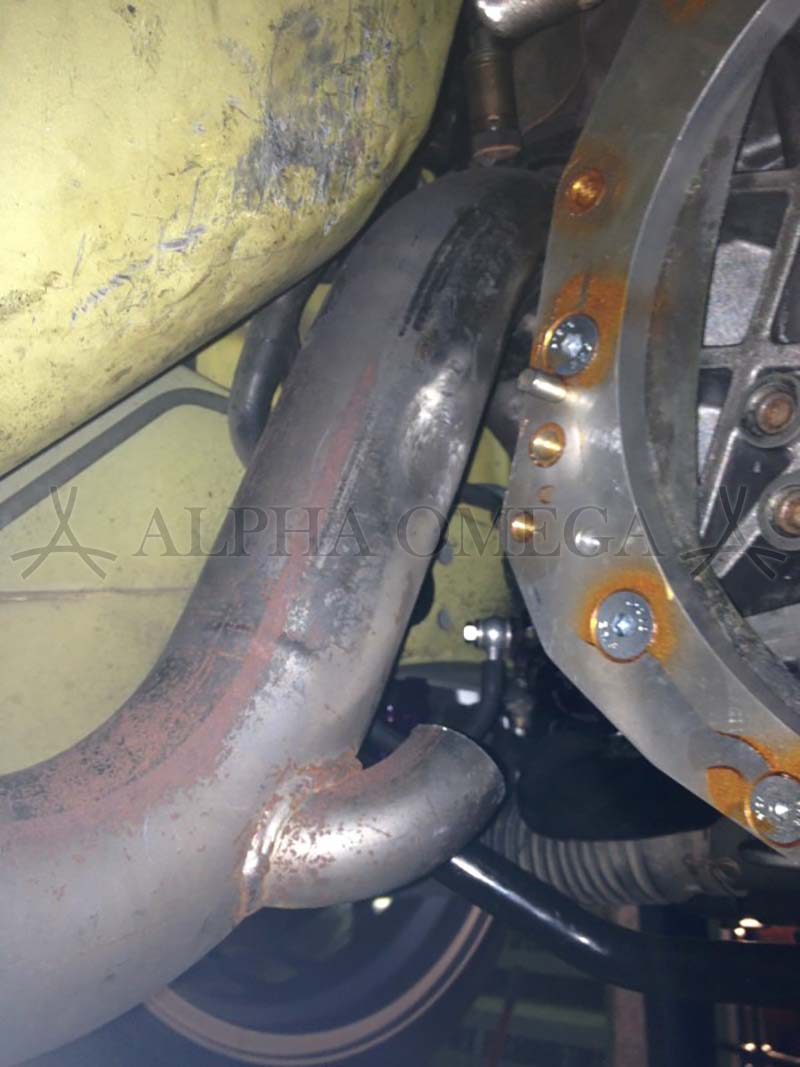
You can also see the external wastegate piping had to be cut in the above pic.It’s hard to see in the pics but basically you hammer anywhere that’s missing paint, probably an inch or so. Poor car 🙁
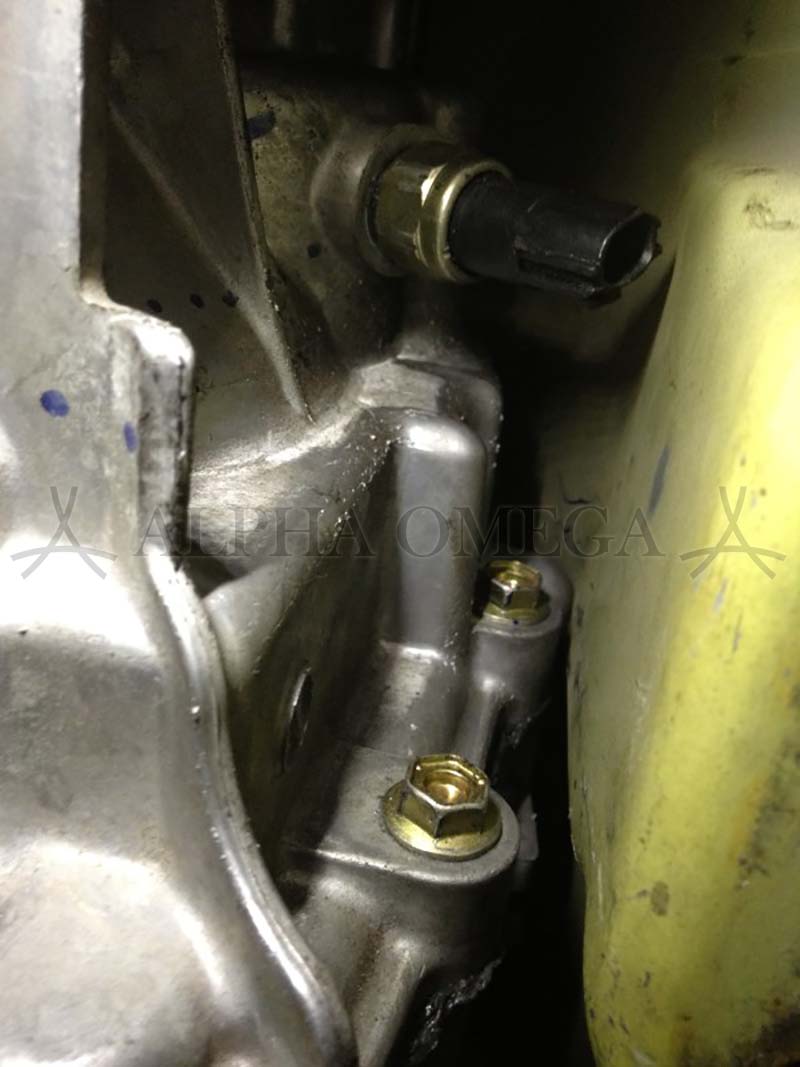
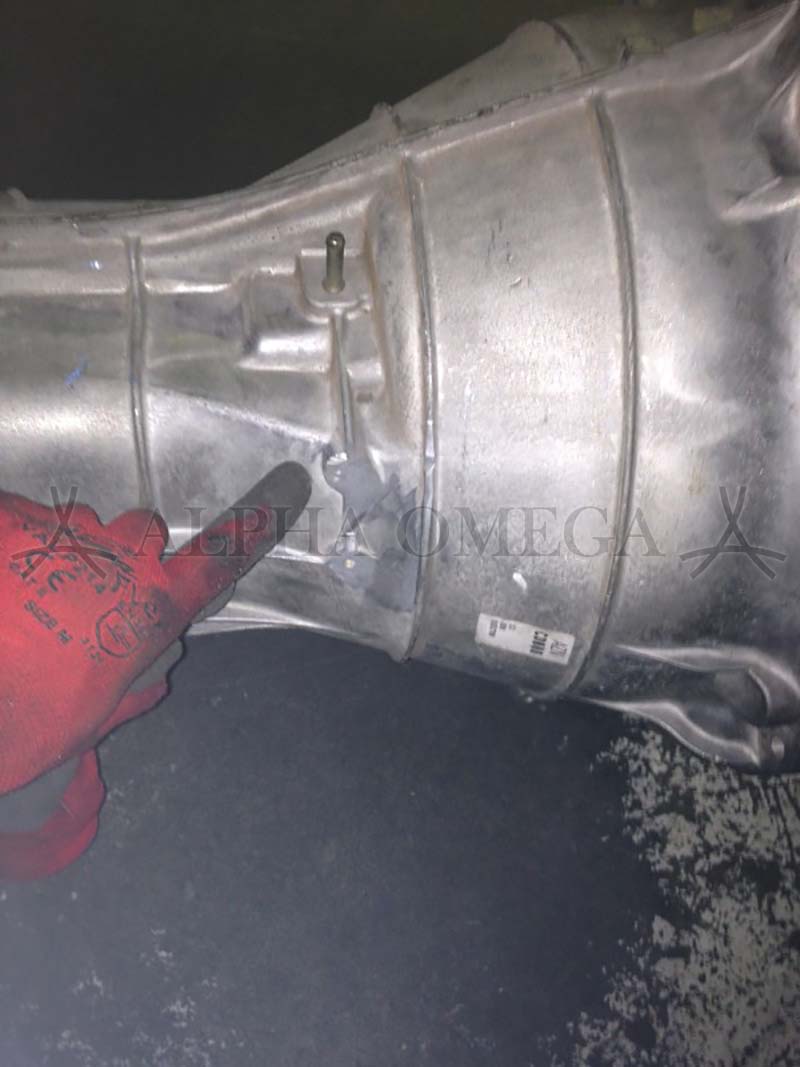
Driver side rear near the sensor and the top of the gearbox:
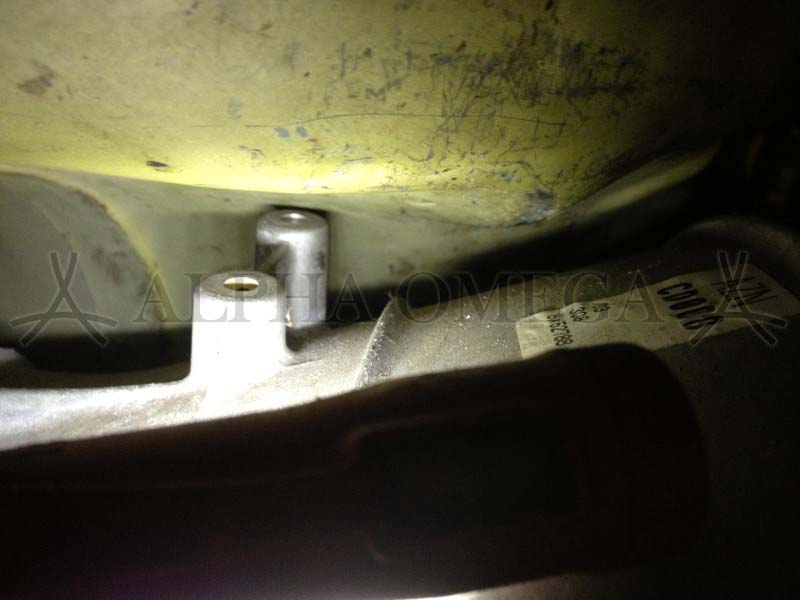
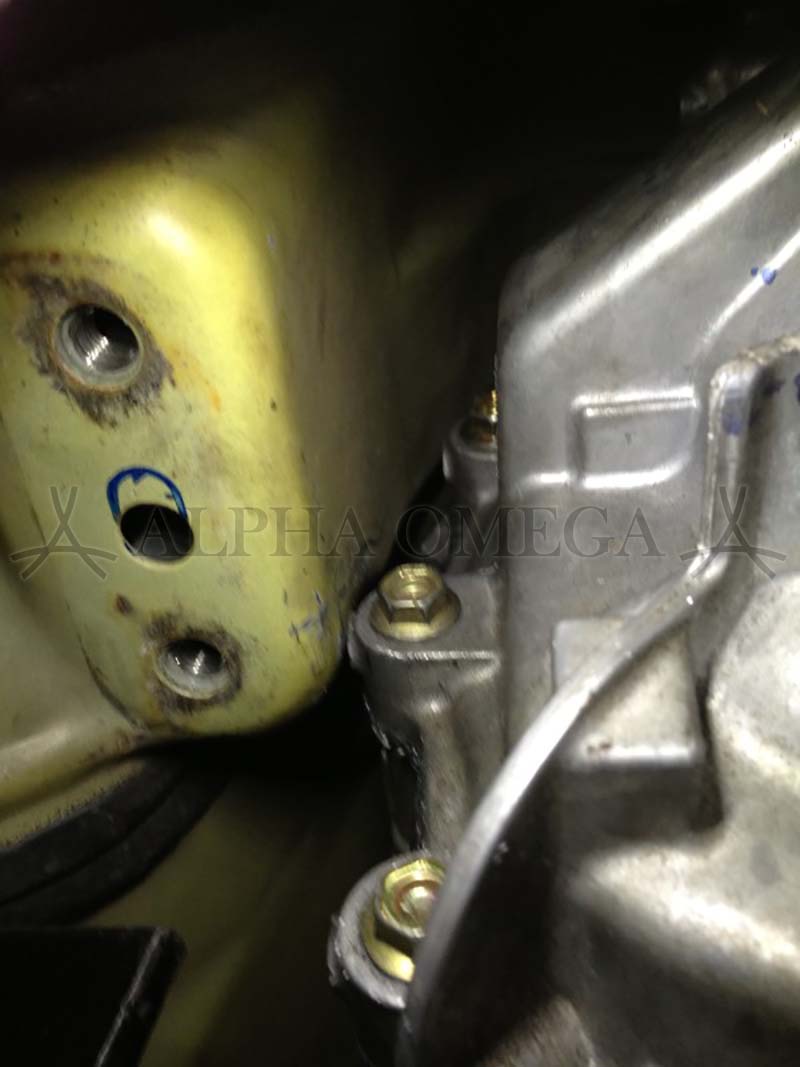
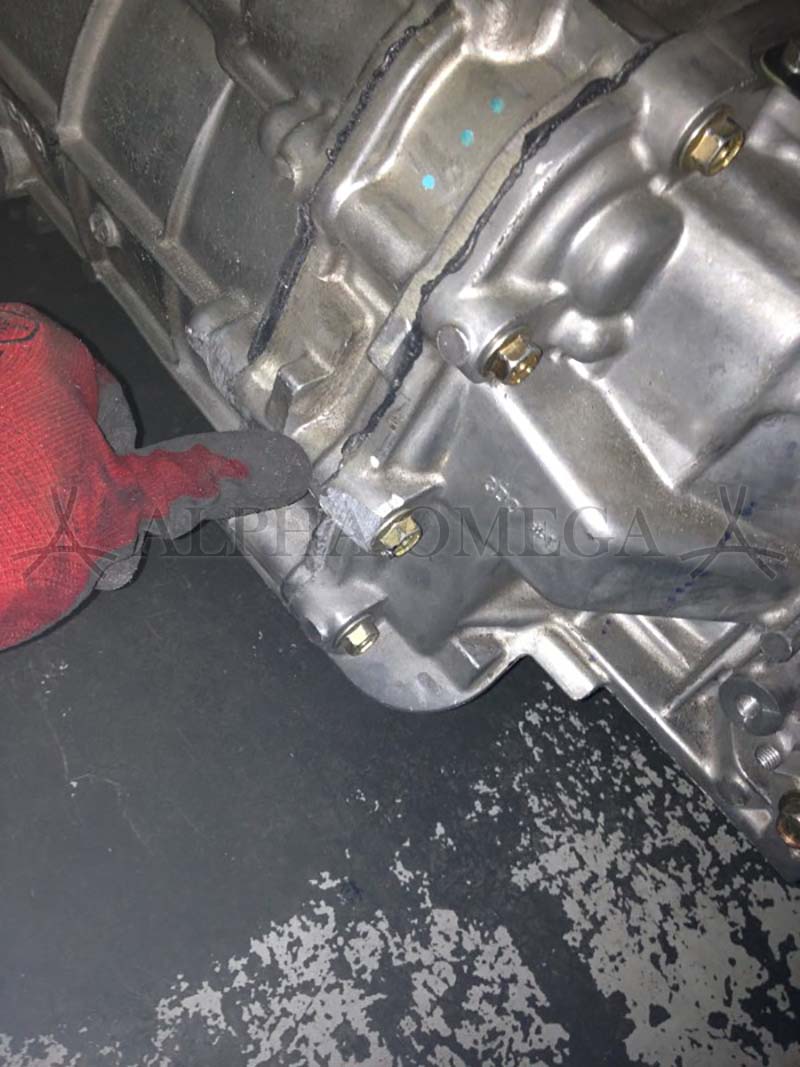
Passenger side rear cross member mount:
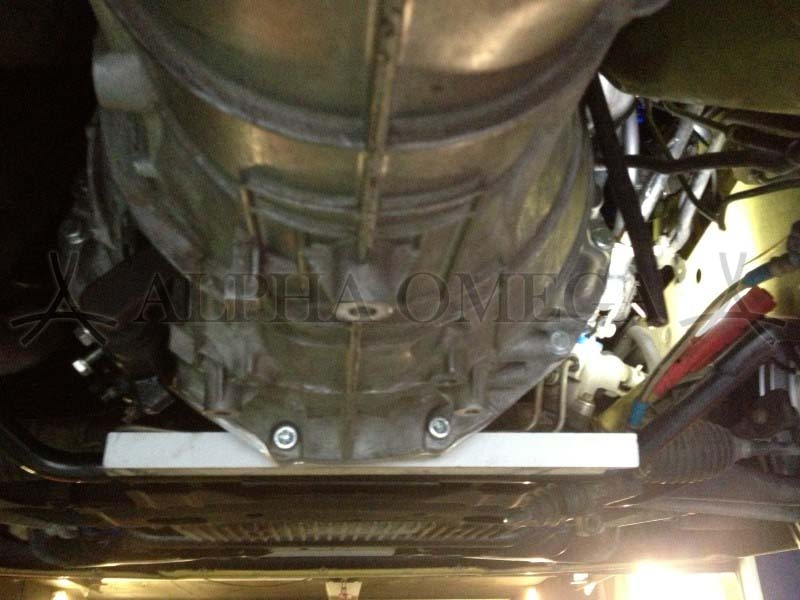
Here you can see the top rear centre section needs hammering too, and a clearer view of the cross member mount hammering:
There was also parts of the gearbox itself that had to be shown the grinder. Not everything is shown here, by this time we were all very frustrated. Just thinking back and looking at these pics is enough to conjure up unpleasant feelings again lol. I put down the camera and focused on hammering, grinding and reinstalling the gearbox. Repeat until it “fits”:

Looking back at this project the extent of hammering is really clear – the entire transmission tunnel from front to back had to be hammered out to fit the Z33 gearbox in there. We thought it would be like our Z32 5speed gearbox conversions – no hammering no grinding. The Z33 6speed conversion is like this:

So after it’s all been hammered out and ground down, it’s time to do the final fit. The clutch now goes on and what do you know? The Z33 box is so big that it won’t go over the clutch kit and fit into the tunnel at the same time. We tried all the tricks like rotating, subframing, tilting, more hammering and combinations but in the end we dropped the engine, bolted on the gearbox, then raised the engine + gearbox as one unit.
Summary
- Custom adapter plate/bellhousing machining/flywheel/clutch kit/throw out carrier and bearing/other stuff had to be made
- Front passenger side requires hammering
- Front “top” side requires hammering
- Front driver side requires hammering
- Exhaust requires hammering, cutting and welding
- Rear passenger side requires hammering
- Rear “top” side requires hammering
- Rear drivers side requires hammering
- Gearbox requires grinding in various areas
- Engine has to be dropped to fit the gearbox
To be continued… Z33 + Z34 6 Speed Gearbox Conversion: Part 3 – Finale
Copyright ALPHA OMEGA Racing. ALL RIGHTS RESERVED. No part of this article can be reproduced without explicit written consent.